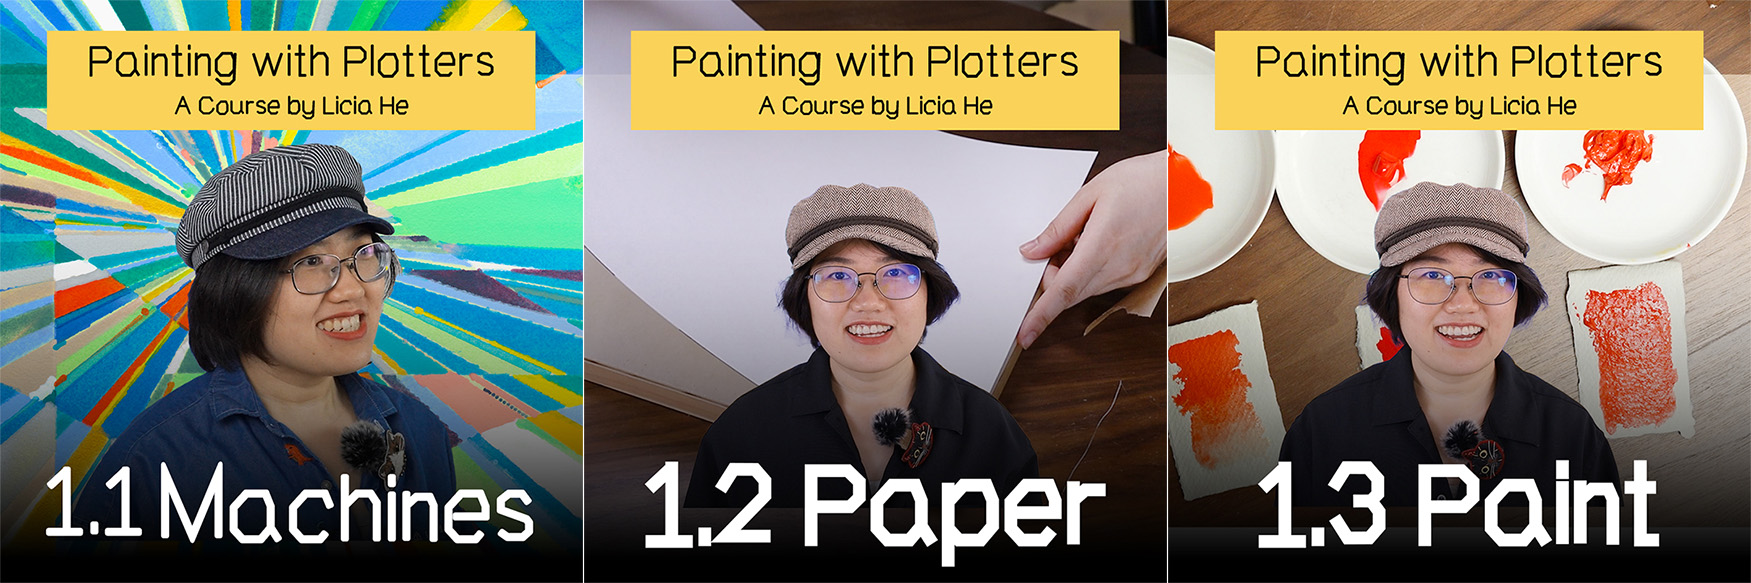
Module 1: Everything You Need For Plotter Painting: Machine, Material, and Tools
Part of The Painting with Plotters Course by Licia He
Overview
In this module, we will cover:
- Equipment needed for plotter painting
- Prepare the machine
- Prepare the painting environment
- Materials and Tools Overview
- Making Inkwells
- Stretching watercolor paper
- [Bonus]: Creating 3D models with Python and Blender
This module contain 3 main videos and a bonus video. Here are links that take you directly to the video (on Youtube).


Part 1: Machines and Preparation
In the first video of this module, I will cover two major topics: 1) equipment and 2) preparing the machine/environment.
Here is a quick summary and additional notes on the topics covered in the video.
1. Things to consider when finding a plotter for painting
Plotting Angle
The plotting angle impacts which material you can use on your plotter. I mainly use watercolor, ink, and liquid acrylic at this moment, so I will only cover flat plotters in the course. But there are many types of plotters waiting for your exploration.
Some examples of plotters with different plotting angles:
Hanging Plotter:
-
Scribit
-
Makelangelo
Flat Plotters: - Axidraw - IDraw
Slanted Plotter: - I mostly see vintage plotters with slanted surfaces, such as this one
Paper Feeding Mechanism
Z-axis space
How much do you need exactly on the Z-Axis? Is 10mm enough? Check out this good question(Q12) on the Q&A page .
2. Plotter I use
I mainly use AxiDraw/NextDraw . In the video, I discussed my servo motor issue and how to solve it. If you paint with your plotter, I highly recommend using a durable motor for your z-axis.
3. Computers I use
When I started plotting, I controlled the plotter using my laptop. Later, I switched to a Raspberry Pi because of its many benefits.
I mentioned a centralized control system for multiple Pi and plotters. We might get to this in the future. The high-level idea is to connect all devices to Wi-Fi and utilize one machine to control other machines (using SSH). I am running a Python command to operate the plotters, which made this remote control easier, as I don't need a graphical interface (e.g., Inkscape) to operate the machine.
4. principles I use in my studio
I use 4 guidelines in my studio. (I learned some of them the hard way.)
Nothing can move except for the plotter arm - Fix paper and ink trays with tape/magnets. I recommend using a magnetic system. - Fix and raise plotters with wooden blocks/boards. I've used clamps mainly. - I recently switched to a 3D-printed version. The STL file of the model is stored in the repository.
Water shouldn't reach electricity
It's essential to protect your machines from water/paint damage. I use a multi-level system:
- Move the plotter up
- Move the computer down
Prepare for paint splashing damage Because it will happen. Cover everything, especially the walls.
Double check before every plotter run
- Check if the plotter arm is in its home location
- Check if the brush/tool is at the correct z-axis height.
That's it for part 1. Let me know if you have any questions . I will see you in the next part! Happy plotting!
Part 2: Paper and Paper Preparation
In the second video of this module, we will look at watercolor paper and how to prepare the paper for the plotter painting process.
Additional notes for this video:
Painting surfaces to consider
- Watercolor Paper (focus of this course)
- Canvas: mainly used for acrylic and oil.
- Canvas paper: lightweight, easy-to-use, and economical option compared to the whole canvas.
- Panels and boards: heavy and sturdy. Suitable for heavy application of thick materials.
Choosing watercolor paper:
- Weight: typically above 200gsm (grams per square meter). I recommend 300gsm+
- Texture: hot pressed (smooth), cold pressed (slight texture), rough (textured)
- Size: choose a convenient size that is smaller than your plottable area. I use 12 x 16 inches on an A3 plotter, and full size (22 x 30 inches) on an A1 plotter.
- Binding: loose sheets, pads, block.
- My current choice: I mainly use Arches hot-pressed 12 x 16 watercolor block and loose full-size sheets.
Stretching watercolor paper
Why: paper expands when absorbing water. Raised paper is not ideal for plotter painting.
How: Soak the paper so it expands evenly. Secure the edge to a rigid board to prevent it from shrinking back.
Paper that doesn't need stretching:
- Heavyweight paper: will absorb more water and expand very slowly.
- Synthetic paper: e.g., Yupo paper.
Board options:
- Gator board: high-density foam board. Lightweight and waterproof. Highly recommend.
- Wooden panels/board: economical and easy to source. It can be cut to the exact size. Needs to be sanded and sealed.
- 3D-printed plastic boards: made for magnet-based stretching.
Securing the edges with:
- Tape: Gummed tape is commonly used. Yet it's difficult to remove. You can wet the tape (danger), trim the paper, or leave the tape (to be covered by the frame).
- Staple: will leave marks (to be covered by frame). Larger and heavier paper needs more staples.
- Magnet: embed magnets in the rigid board. Clean and reusable method for small paper (works on A3, yet failed A1 for me).
TODO: Bonus video and link to the container-generating script coming soon.
Part 3: Paint and Containers
In the third video of this module, we will look at paint and paint trays.
3 Types of paint:
Type 1: Liquid dye-based paint: e.g., most fountain pen ink. Dye-based paint might not be lightfast. Avoid direct exposure to UV light.
Read more:
- Ink lightfast test by Jens Clarholm
- Make Ink: A Forager's Guide to Natural Inkmaking by Jason Logan (ISBN:1419732439)
Type 2: Liquid pigment-based paint: e.g., watercolor, gouache, liquid acrylic. Normally, it needs to be stirred because the pigment will settle.
Read More:
- Chaos In The Medium: Watercolour Plotting by Amy Goodchild
- Watercolour mixing chart by Jane Blundell
Type 3: Gel-like pigment-based paint: e.g., acrylic, oil paint. Behave very differently from liquid paint. Need to consider the loading and applying mechanism.
Paint Container
Recommended method: Glue magnets to plastic containers.
Potential issue: 1) Needs maintenance, 2) Difficult to clean.
If you have access to a 3D printer, printing custom cases for plastic trays solves many issues:
- No need to glue magnets.
- Magnets won't get dirty because there's no need to clean the 3D printed tray.
- Plastic trays can be moved and arranged easily
- Trays will have consistent height
Links to the 3D model generating code will be online soon.
TODO: Bonus video and link to the container-generating script coming soon.
Brush
- Try many options
- Longer and wider tips will store more paint, which might drip.
- Brushes wear out quickly on plotters
Todos before the next module:
- Get your plotter ready
- Get materials and tools ready
I will see you in the next module. Happy plotting!